Preparing a flower bed for planting requires proper steps to provide the best growing conditions for your plants. Whether you’re starting a new garden or revitalizing an existing one, taking the time to prepare the soil and layout of your flower bed is essential for long-term success. In this article, we’ll walk you through the steps to prepare your flower bed for planting, from soil testing to adding amendments and arranging plants.
- Assess Your Site:
- Choose a location for your flower bed that receives adequate sunlight for the types of plants you want to grow.
- Consider the size and shape of your flower bed, taking into account the available space and surrounding landscape.
- Check for any existing plants, weeds, or debris that need to be removed before planting.
- Test the Soil:
- Conduct a soil test to determine its pH level and nutrient content. Soil testing kits are available at garden centers or through local agricultural extension offices.
- Follow the instructions on the soil test kit to collect samples from different areas of your flower bed.
- Use the results of the soil test to determine if any amendments, such as lime or fertilizer, are needed to improve soil fertility and pH balance.
- Prepare the Soil:
- Start by removing any existing weeds, rocks, or debris from the flower bed area.
- Use a garden fork or tiller to loosen the soil to a depth of 6-8 inches, breaking up any compacted areas.
- Incorporate organic matter such as compost, aged manure, or peat moss into the soil to improve its texture, structure, and drainage.
- Level the soil surface with a rake to create a smooth and even planting surface.
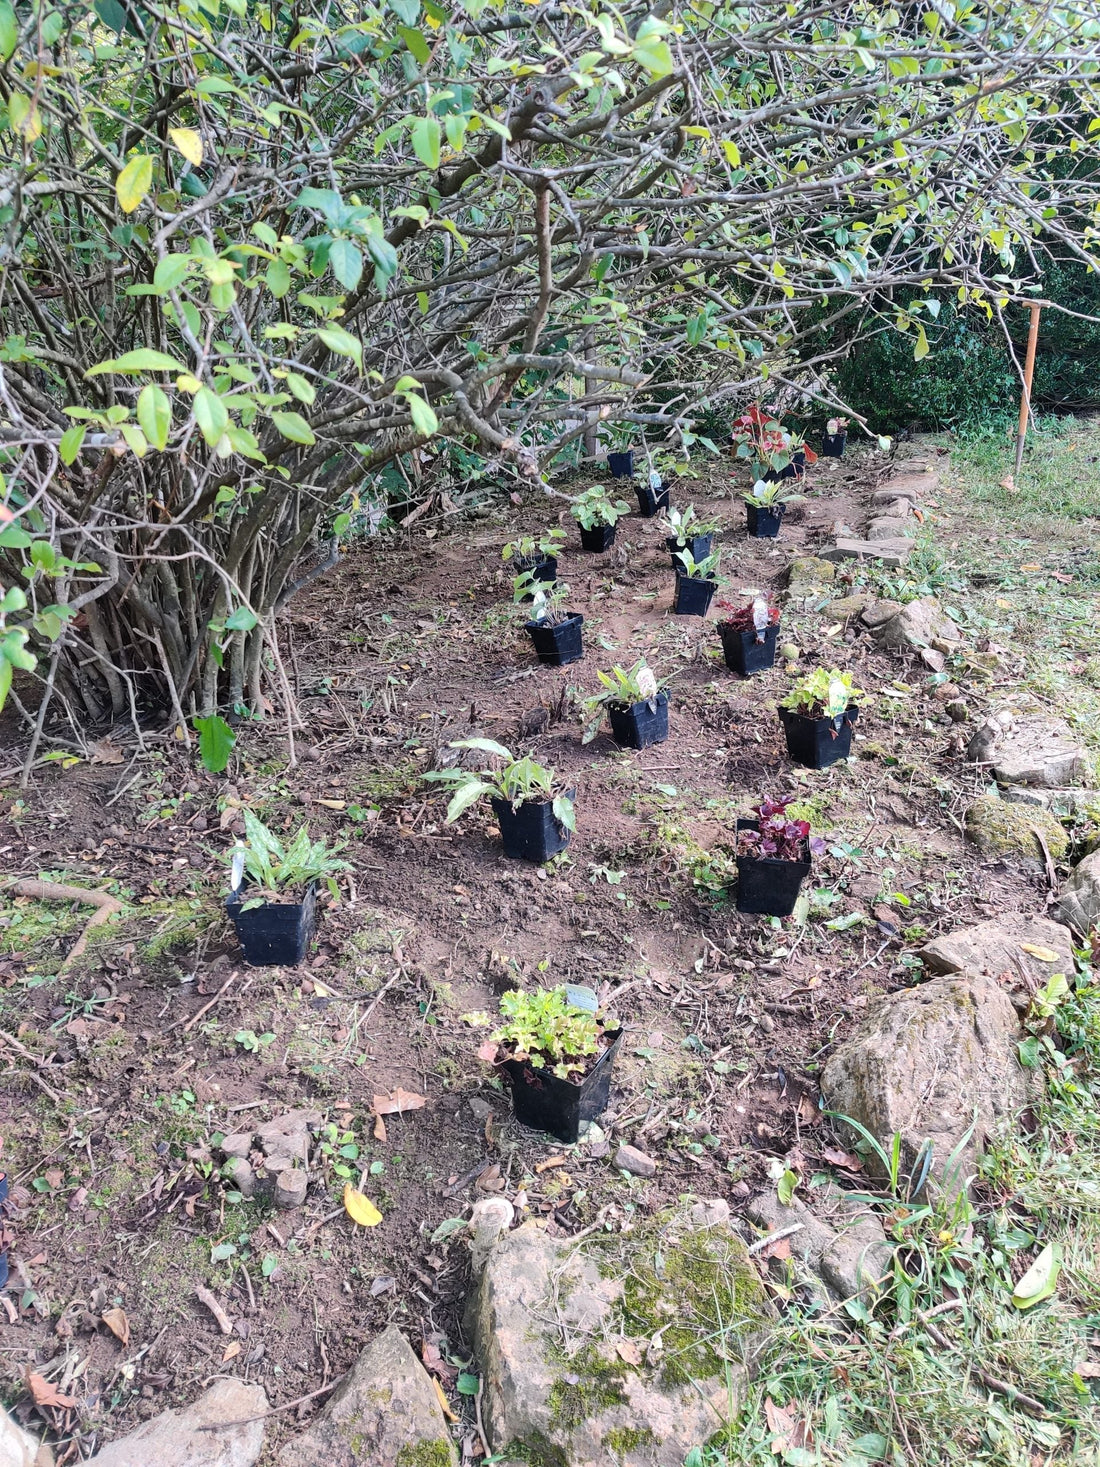
- Plan Your Layout:
- Decide on the placement and spacing of plants based on their mature size and growth habits.
- Consider factors such as color, height, and bloom time when arranging plants to create visually appealing combinations.
- Group plants with similar water and sunlight requirements together to ensure they thrive in their new environment.
- Plant Your Flowers:
- Dig individual planting holes for each flower, making sure they are deep and wide enough to accommodate the root ball.
- Gently remove plants from their containers and loosen any compacted roots before placing them in the planting holes.
- Backfill the holes with soil and press lightly around the base of each plant to secure them in place.
- Water the newly planted flowers thoroughly to help settle the soil and reduce transplant shock.
- Mulch and Maintain:
- Apply a layer of organic mulch, such as shredded bark or straw, around the base of plants to conserve moisture, suppress weeds, and regulate soil temperature.
- Monitor soil moisture levels regularly and water as needed, especially during dry periods.
- Remove weeds and deadhead spent flowers regularly to promote healthy growth and prolong blooming.
Conclusion: When preparing your flower bed for planting just follow these steps and you can create a beautiful and thriving garden space that brings joy and color to your outdoor environment. Taking the time to assess your site, test and amend the soil, plan your layout, and properly plant and maintain your flowers will set the stage for a successful gardening season ahead.